
Site owners will do anything to get their websites indexed. However, you might not want search engines to crawl through your website if it’s still in development. In a case like this, it’s recommended to discourage search engines from indexing your site. Stick with us if you want to learn more about this topic!
- Discouraging Search Engines From Indexing WordPress SitesUsing the WordPress Built-In FeatureEditing robots.txt File Manually
- Password Protecting Your WordPress WebsiteUsing Hosting Control PanelUsing WordPress Plugins
- Removing Indexed Page From Google
Why Would You Want To Stop Search Engines From Indexing Your Site?
There are some cases where people want to discourage search engines from indexing their sites:
- Unfinished websites — at this stage of errors and trials, it’s best not to have your website available to the public eyes.
- Restricted websites — if you plan to have an invite-only website, you do not want it to get listed on SERPs.
- Test accounts — web owners create a site duplicate for testing and trial purposes. Since these sites are not designed for the public, don’t let it get indexed by search engines.
So how do you block search engines from indexing your site? Well, take a look at several options below and try it yourself.
1. Discouraging Search Engines From Indexing WordPress Sites
The simplest way to stop search engines from indexing your website is by preventing them from crawling it. To do it, you need to edit your website directory’s robots.txt file. Here are a few ways to achieve that:
Using the WordPress Built-In Feature
Editing WordPress robots.txt is quite easy as you only need to use a WordPress built-in feature. Here’s how:
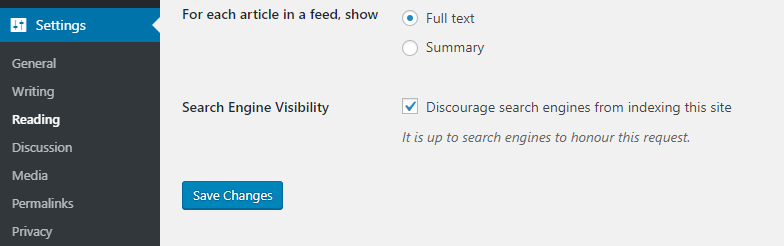
- Login to WordPress admin area and go to Settings -> Reading.
- Scroll down and locate the Search Engine Visibility option.
- Check the option that says Discourage search engines from indexing this site.
- Save Changes, and that’s it! WordPress will automatically edit its robots.txt file for you.
Editing robots.txt File Manually
If you prefer the manual option, you can use File Manager or an FTP client to edit the robots.txt file.
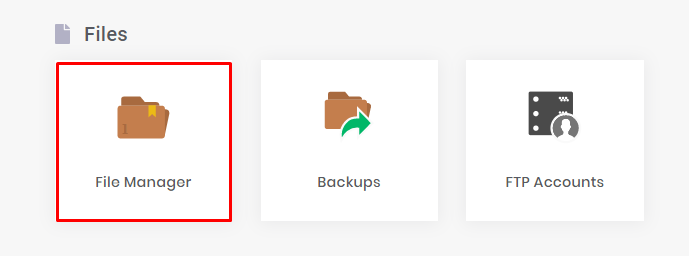
In this article, we’ll show you how to do it through the hPanel’s File Manager:
- Login to hPanel and locate File Manager under the Files area.
- Go to your WordPress root directory folder (in most cases, it’s public_html) and find the robots.txt file. If you can’t find it, create a new blank file.
- Right-click on the file and select Edit.
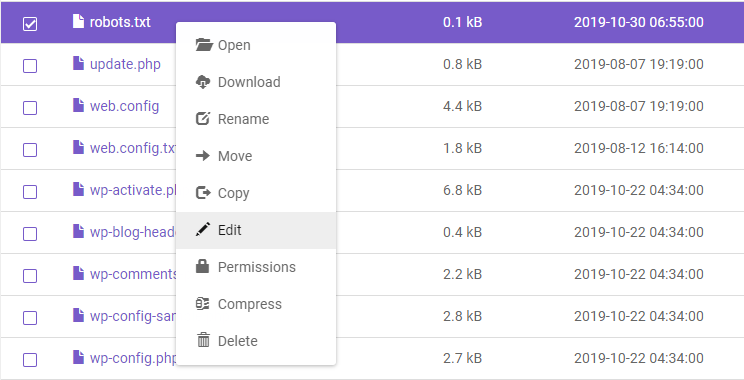
- Enter the following syntax:
User-agent:
* Disallow: /
The code above will prevent search engines from indexing your whole site. If you want to apply the disallow rule to a specific page, write the page’s subdirectory and slug. For example: Disallow /blog/food-review-2019.
The syntaxes in robots.txt files are case sensitive, so be careful when editing.
2. Password Protecting Your WordPress Website
Search engines and web crawlers don’t have access to password-protected files. Here are a few methods to password protect your WordPress site:
Using Hosting Control Panel
If you are a Hostinger client, you can password protect your website using hPanel’s Password Protect Directories tool:
- Access hPanel and navigate to Password Protect Directories.
- Enter your root directory into the first field.
- Once the directory is selected, enter your username and password and click Protect.
If your root directory is public_html, leave the directory column blank
The process in cPanel is also quite similar:
- Log in to your cPanel account and head to Directory Privacy.
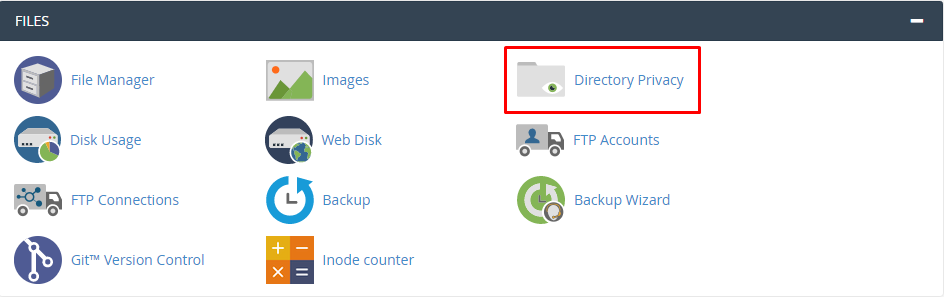
- Select your root directory. In our case, it’s public_html.
- Check the Password protect this directory option, and name the protected directory. Press Save.
- Create a new user to login to the protected website, and that’s it!
Using WordPress Plugins
There are tons of plugins that can help to password protect your site. However, the Password Protected plugin might just be the best one out there. It’s been tested with the new WordPress update, and it’s pretty straightforward to use.
After installing and activating the plugin, head to Settings -> Password Protected and configure the settings to match your needs.
3. Removing Indexed Page From Google
Don’t worry if Google has indexed your site. You can remove it from SERPs by following these steps:
- Set up Google Search Console for your website.
- Access Google Search Console of your newly added website and scroll down to Legacy tools and reports -> Removals.
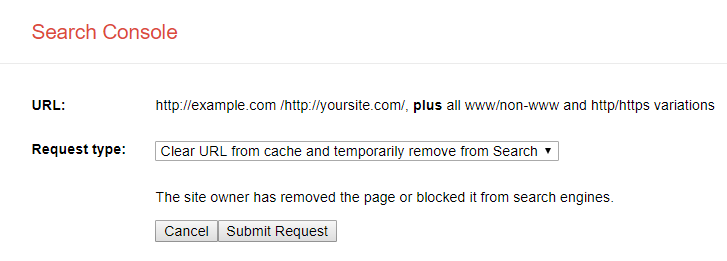
- Click the Temporarily hide button and enter the URL you want to remove from Google.
- On a new window, choose Clear URL from cache and temporarily remove from search, then Submit Request.
And that’s it! Google will temporarily remove your site from search results. Make sure to apply the previous methods to prevent Google from indexing your site again.
Conclusion
There you have it! Quick and easy ways to discourage search engines from indexing your sites. Here’s a quick recap of the methods we’ve learned today:
- Edit the robots.txt file, which can be performed automatically or manually.
- Password protect your website by using a plugin or your hosting control panel.
- Remove indexed pages from Google via Google Search console.
If you have any other methods, or if you have any questions, please do let us know in the comments. Good luck!